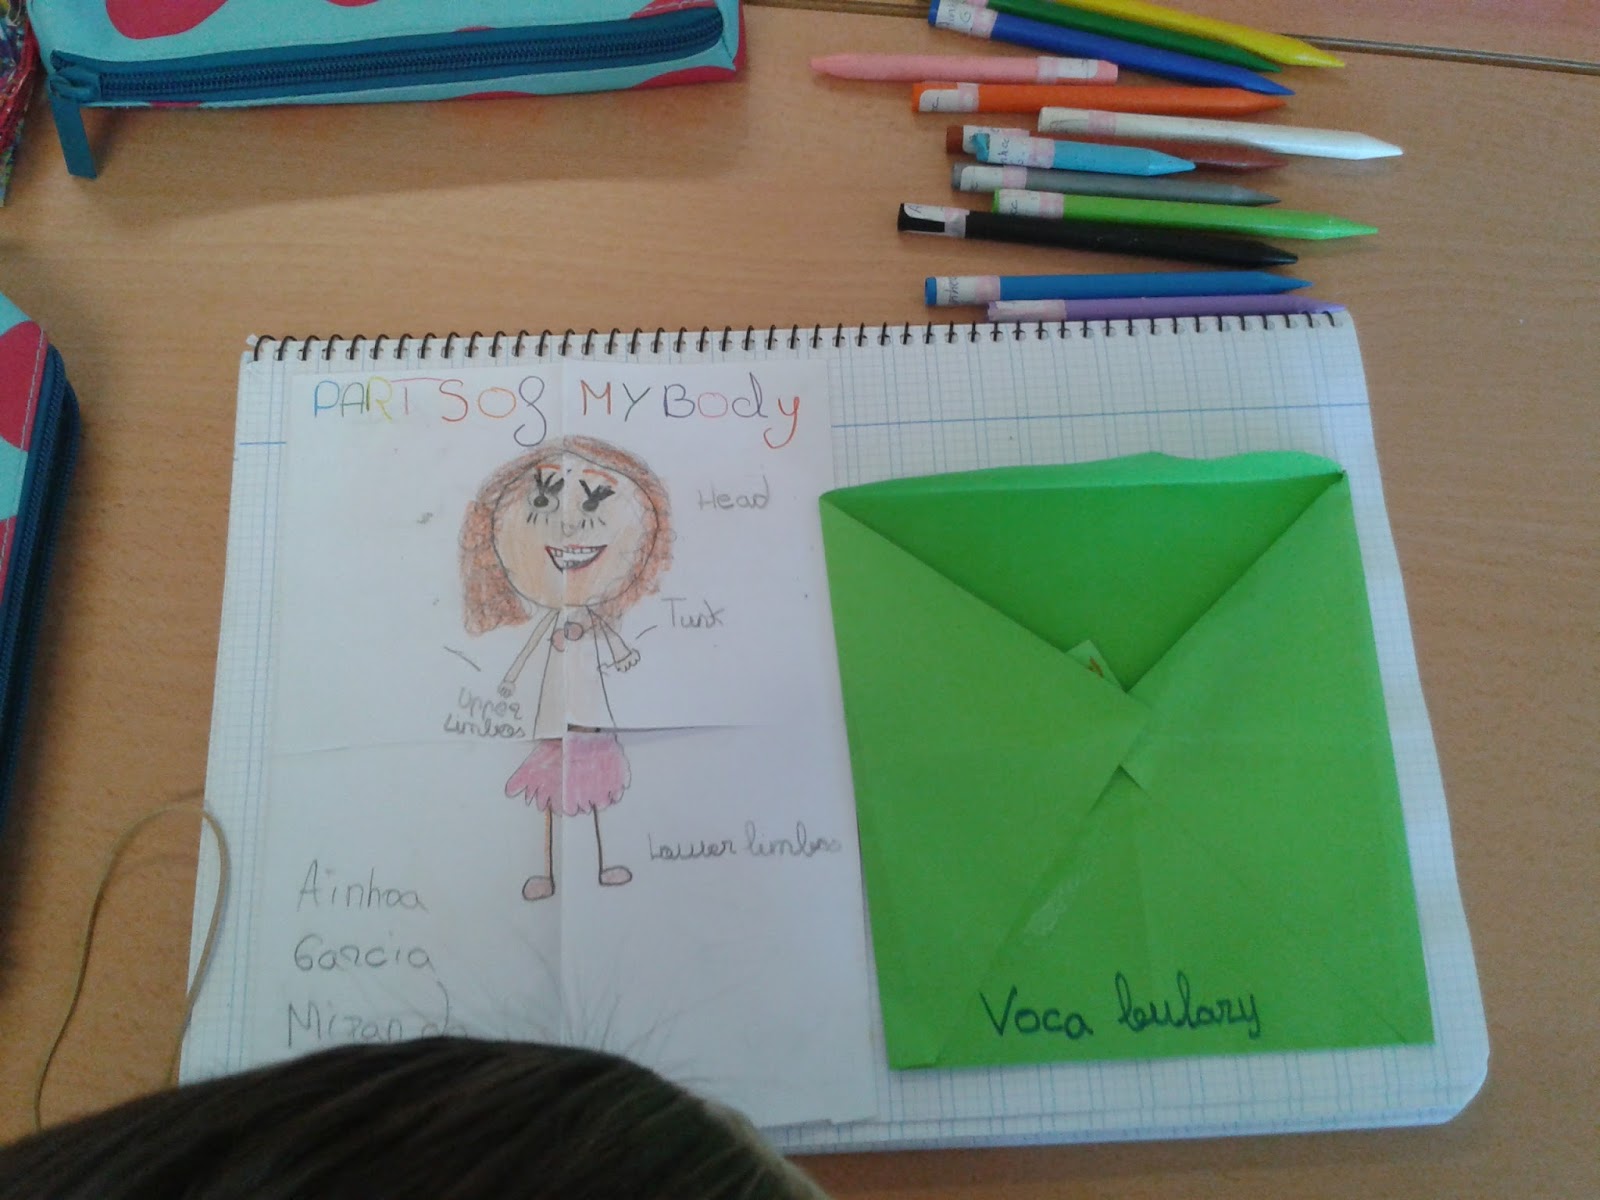
WATER EXPERIMENTS DAY!
¡Hagamos algunos experimentos con agua! Pero, ¿para qué te vas a complicar la vida con experimentos? Este puede ser el pensamiento de muchas personas, pero no es tan difícil como parece. Requiere algunos pasos previos y un poco de organización, pero los alumnos están altamente comprometidos con esta experiencia porque, simplemente, les encanta. Ellos son los que están “con las manos en la masa” y el estar “pringados” los motiva.
Además, si los experimentos los hacemos en inglés, mejor que mejor. Y este ha sido nuestro caso. Así que hoy hemos aprendido algunas palabras nuevas y también hemos practicado vocabulario que nuestros alumnos ya sabían como por ejemplo vaso, recipiente, cucharon, cuchara, agua, colorante y los colores, entre otros.
Antes de comenzar, hemos hecho un brainstorming sobre el agua. Y los alumnos han comentado todo lo que sabían acerca de dónde podían encontrarla, para qué servía, cómo cuidarla, etc. Una actividad muy interesante para organizar y darle forma a toda la información que ellos tienen en su mente.
1. Compare the sizes of containers by filling glasses of water
Inicialmente tenemos dos vasos iguales con la misma cantidad de agua pero al pasar el contenido a vasos con formas diferentes, vemos que el agua no está al mismo nivel. Pero, ¿tenemos diferente cantidad de agua? Los alumnos de tercero ya saben que no porque lo comprobaron volviendo a echar el agua en los vasos iniciales, viendo así que las cantidades seguían siendo iguales.
2. Create a melody with coloured water
Para hacer nuestras propias melodías sin necesidad de instrumentos musicales, solo necesitamos seis vasos, agua, colores y una pala de madera. Primero, rellenamos cada vaso con distintas cantidades de agua. A continuación, se les echa un poco de pintura y se mezcla bien para que cada vaso tenga un color característico. Y, finalmente, ¡manos a la obra, artista!
3. Predict which objects sink or float & Avoid water pollution
Tenemos diferentes materiales como son un corcho, palillos de madera, canicas, piedras y papel. ¿Cuales flotan y cuáles se hunden? Los alumnos tienen unas ideas previas que comprobarán echando dichos materiales en un recipiente. Y algunos alumnos se sorprenderán al ver lo que sucede.
4. Watch as air pressure forces water into a glass
Llenamos un plato de agua con colorante y ponemos una vela en el centro. Con cuidado ponemos un vaso de cristal sobre la vela y esperamos. ¿Qué sucede? Como muchos compañeros imaginaron la vela se apaga pero ¡también nos dimos cuenta de que el agua dentro del vaso sube de nivel!
5. Mix oil and water and watch the density of liquids
Vertemos en un recipiente agua y aceite para darnos cuenta de que aunque ambos sean líquidos no se mezclan, sino que permanecen en alturas diferentes. Esto es lo mismo que ocurre cuando se derrama petróleo de un barco en los mares u océanos. Además, analizamos sus desastrosas consecuencias, como son la muerte de muchos seres vivos acuáticos y la contaminación de otros tantos, afectando así a todos los componentes de la cadena alimenticia.
6. Surprise! Gravity water!
Algo que sorprendió mucho a los chicos y chicas de tercero fue lo demostrado con este experimento. Para llevarlo a cabo, llenaron un vaso de agua hasta el borde. A continuación, pusieron un plato de plástico encima y , rápidamente, lo giraron. ¡El agua no se cayó!
7. Creating our own volcano
Para conseguir un fantástico volcán necesitamos agua, vinagre y bicarbonato. Echamos el agua y el vinagre en un vaso y, a continuación, vertemos una cucharada de bicarbonato. ¡Tened cuidado! Porque hacen reacción y sale mucha espuma ensuciando todo a su paso.
8. Drinking with a straw
Tenemos el siguiente reto: Beber de un vaso con una pajita pero sin chuparla. ¿Cómo lo hacemos? Los alumnos de tercero os responderán sin ningún problema, ¡ellos ya lo han hecho! Primero, metes la pajita en el vaso. Después, tapas la boquilla de la pajita con el dedo y, sin quitar el dedo de donde está, pones la pajita encima de tu boca. Finalmente, retiras el dedo y el agua caerá a tu boca.
Y así, señores y señoras, es como nuestros alumnos de tercero han aprendido nuevos conocimientos relacionados con el agua. ¡Espero que hagáis algunos de estos experimentos en casa!


 Si os rondan por la cabeza preguntas como las anteriores, no dudéis en preguntar a los compañeros de 3º de Primaria. Se podría decir que ellos son unos expertos ahora.
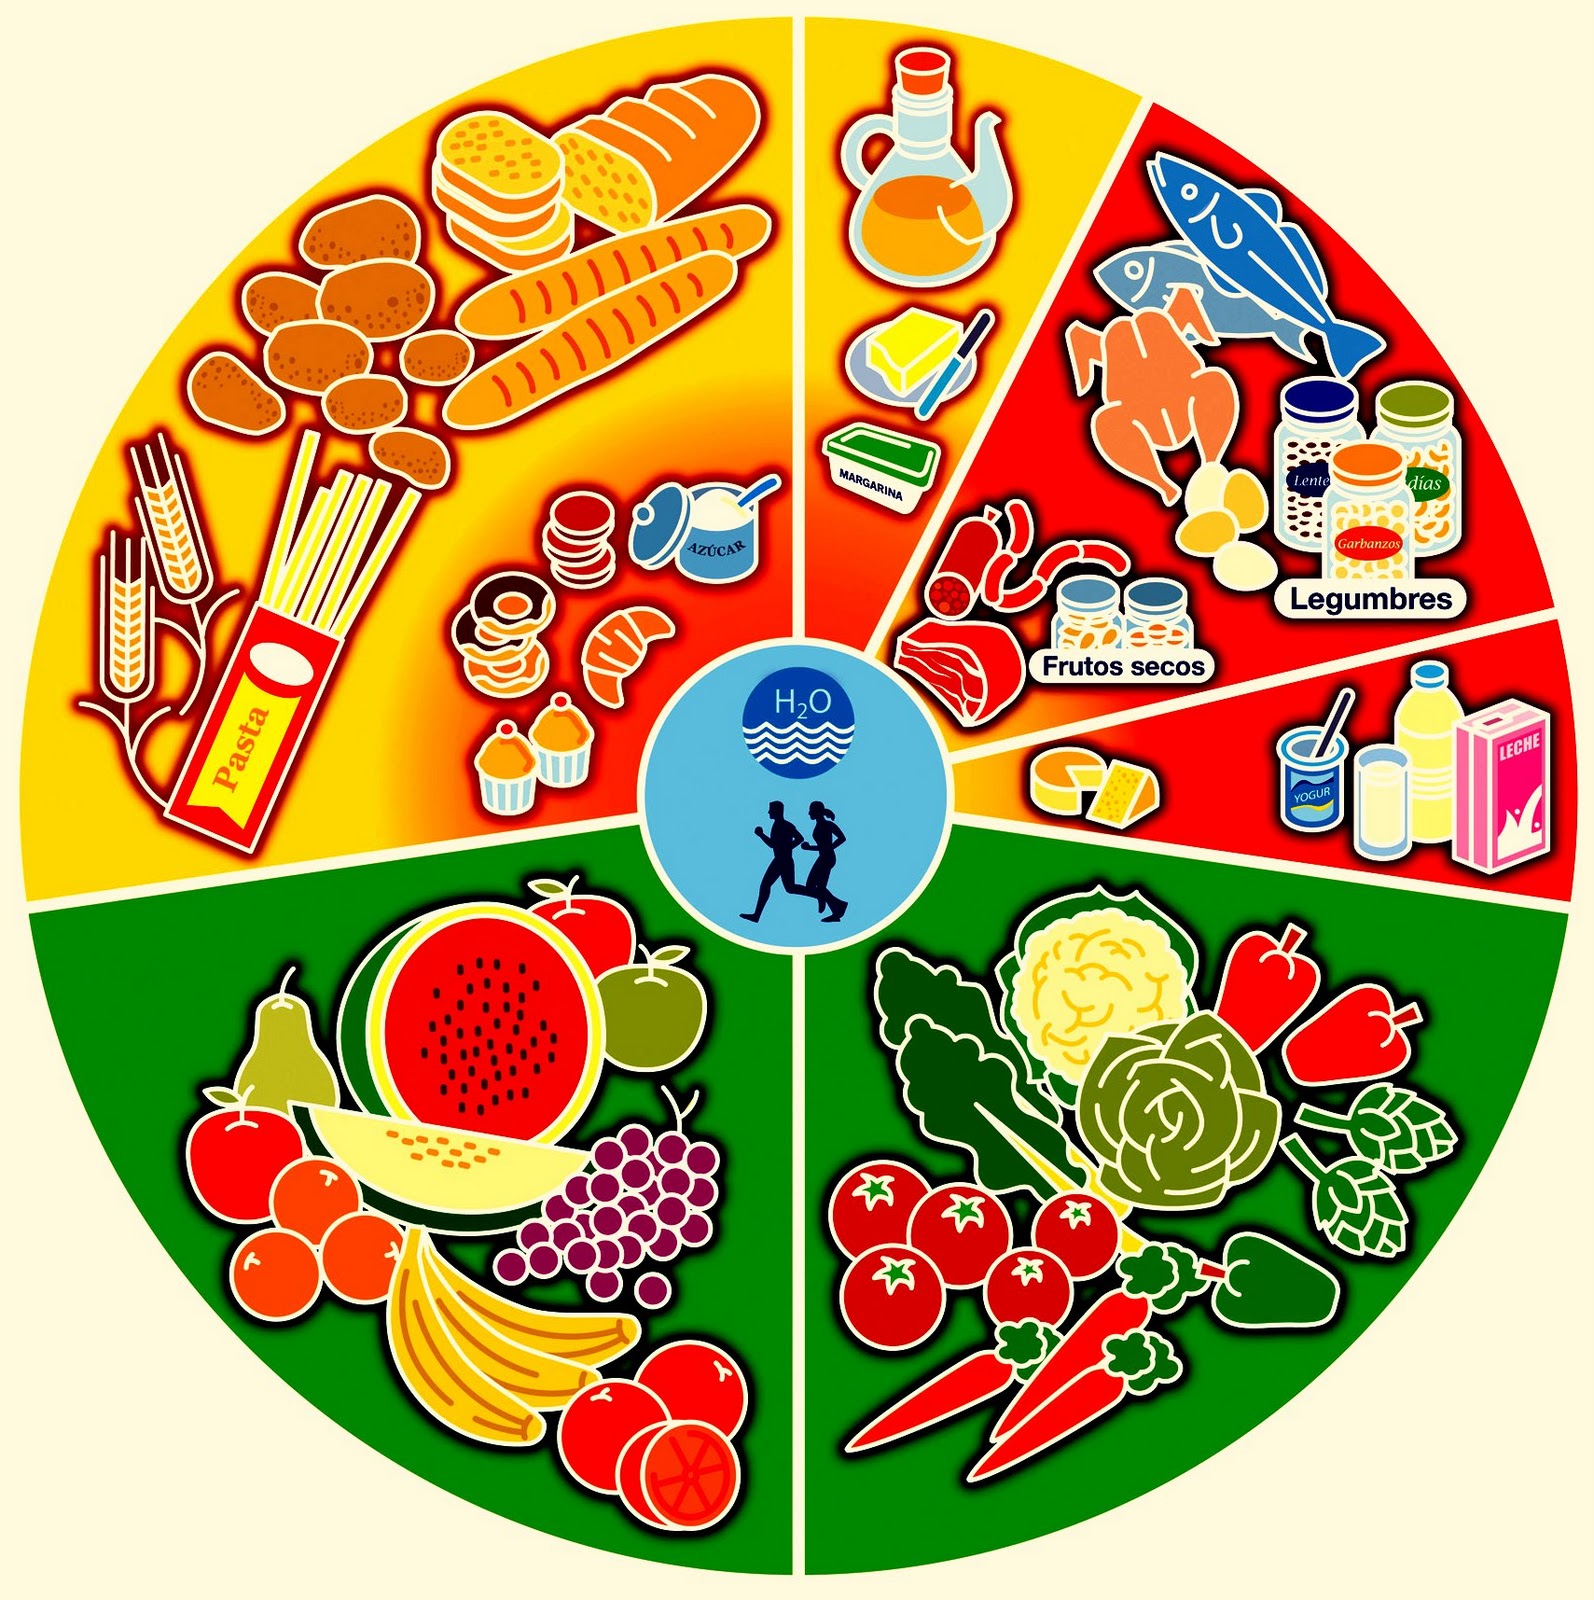
 -La tarjeta perdida. Inicialmente los alumnos seleccionan dos alimentos para cada nutriente y los memorizan. A continuación, todos los componentes del grupo tienen que darse la vuelta, excepto un alumno que será el encargado de retirar uno, dos o tres de los alimentos previamente seleccionados. Después, el resto de los compañeros se pondrán de cara al juego de nuevo y dirán qué tarjetas faltan.


